Showing posts with label WIP. Show all posts

Random Ramble on Terrain - bunkers on the cheap

Been an interesting couple of weeks.  The "gaming" bug has bitten hard, as has the modelling bug.

Looking around I noticed I had some cardboard holders that were itching to be made into some gaming terrain.  Since my gaming group has all broken our 7th edition cherries, we need new terrain to 'shake' things up.  

The shapes were good for bunkers or some building structure. After a few months of thinking I settled on bunkers.  Going through the bitz box(es) I scavenged a few items and settled in to work. 

Roughly 6 hours I was were done and still had the weekend left to spare.  Whilst not 100% satisfied, I think they will make a nice addition to our growing terrain collection.

Front View
Rear View - Bunker Doors
 Not bad for "free" terrain that cost nothing but some time.  Attempted to make each bunker unique.

Items used:

  • Cardboard Packaging
  • Cat litter
  • Plasti-card
  • Foam-core Board - the black kinda (its is sturdier than the white btw)
  • Spare Bitz

Terrain for the Gaming gods!

Wednesday Ramdomness and Painting Charts

 Stumbling through my blog list, I came across the post that seemed to come from my mind.  The post was on finding a balance between playing and playing the image below sums up the post.

As I read through the comments I can across a mention of a painting chart.  This is not something new, BUT i finally took the time to create one myself.  I followed a link to Admiral Drax's blog and took it from there.


The hour spent creating my initial template was worth it. I can now see how far I have come and how much work I need to complete for my Eldar army. I look forward to creating the Space Marine, C SM and Vampire Counts charts.

Eldar Painting Chart
As you can see, I have made allot of headway in very little time, but still have a way to go. I look forward to my Eldar getting completed.

I wish to thank Admiral Drax for inspiring me to get this done.


Suffer not the heretic to live!


For the past couple of months I have been suffering the gamers equivalent of ‘writer’s block. Let us call it what I really is, I have become BORED and restless when it comes to gaming. This has not only been tabletop gaming, but also board games, cards, PS3 and PC games. This has causes mental crash and build-up on my project table and life in general.

WIP - Plauge Bearer

It has been awhile since I have painted something none Eldar or Space Marine related. As I have a habit of painting other models I grabbed Plague Bearer from RD to paint.

I was kind excited as this would be my first daemon. After settling on a scheme I wondered how fast I could complete the model to just above table top quality. This put a kink in my planning process which caused me to randomly surf for more pictures of the filthy buggers.


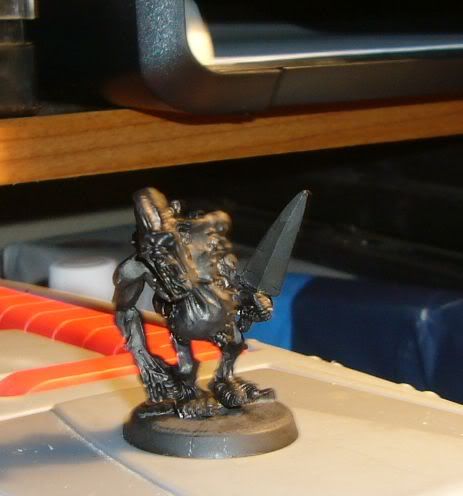
Step1: I chose a simple Chaos Black Base coat, it is a personal preference and i wanted the daemon to look dirty.

Base Coat - Chaos Black

Step 2: As green is the colour of Nurgle I selected bright green as the base skin tone. A ample overbrush was applied

First Colour - Snot Green

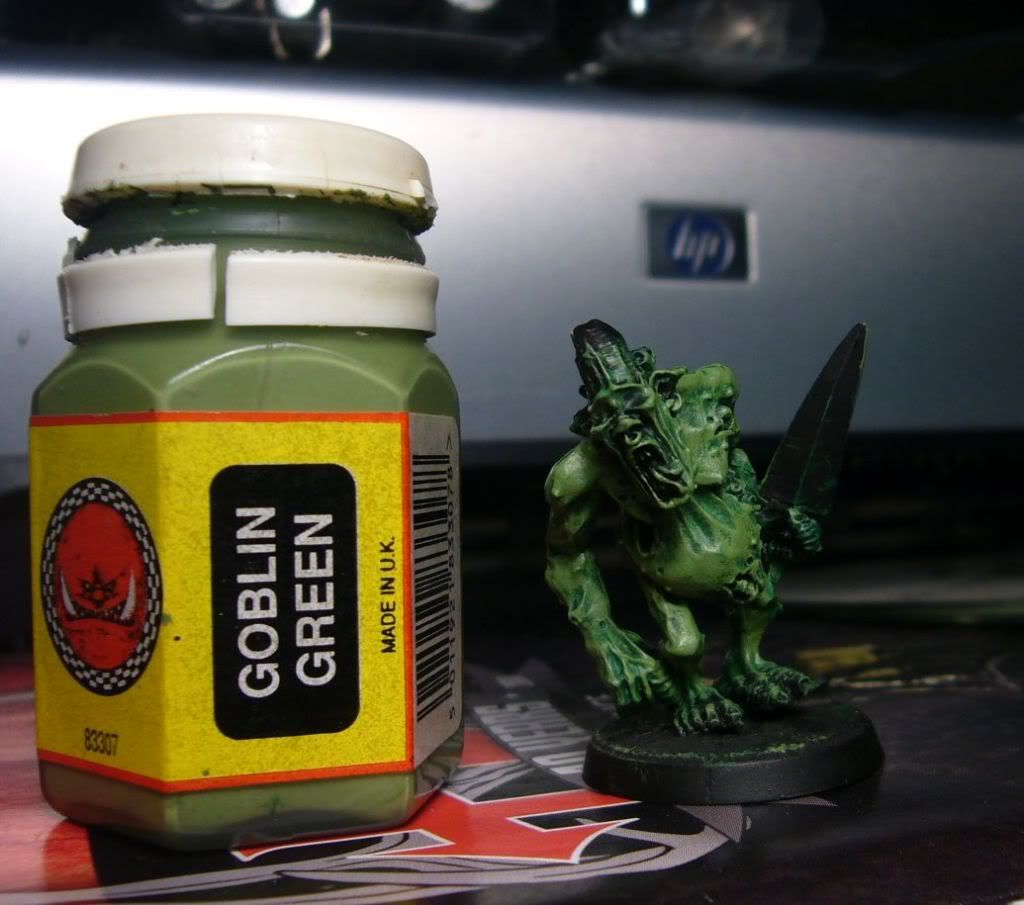
Step 3: A second green was used to dull the original and add a secondary sin tone. Goblin Green was overbrushed leaving the Snot Green showing in places.

Second Colour - Goblin Green

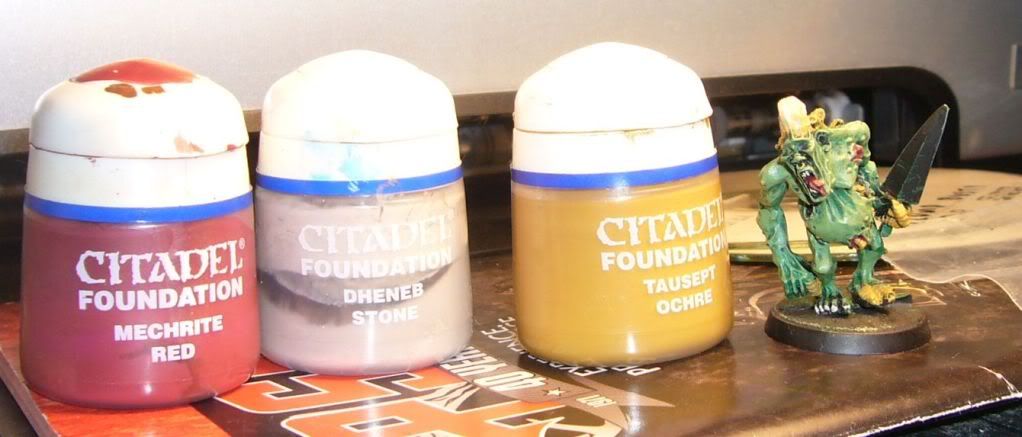
Step 4: Tired of seeing green the horns, nails and teeth were painted Denab Stone. Mecharite Red was applied to the exposed fleshy areas and Orche Shade to the 'worms'. I was not to sure how the yellow would look, but the contrast proved to work.

Base Colours - Mecharite Red, Denab Stone, Orche Shade

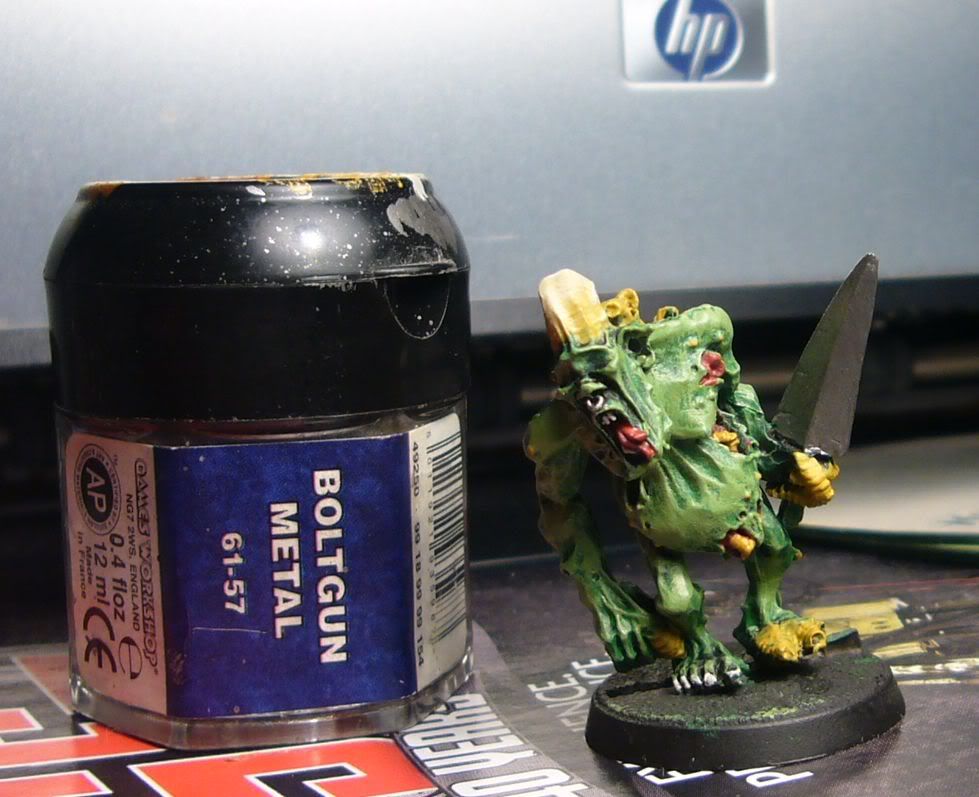
Step 5 -Boltgun was was applied to the sword and nose ring.

Metals - Boltgun Metal

Step 6 - the horn and worms were highlighted, bright colours were used as the model was going to get think wash to finish it off.

Highlights - Skull White, Sunburst Yellow

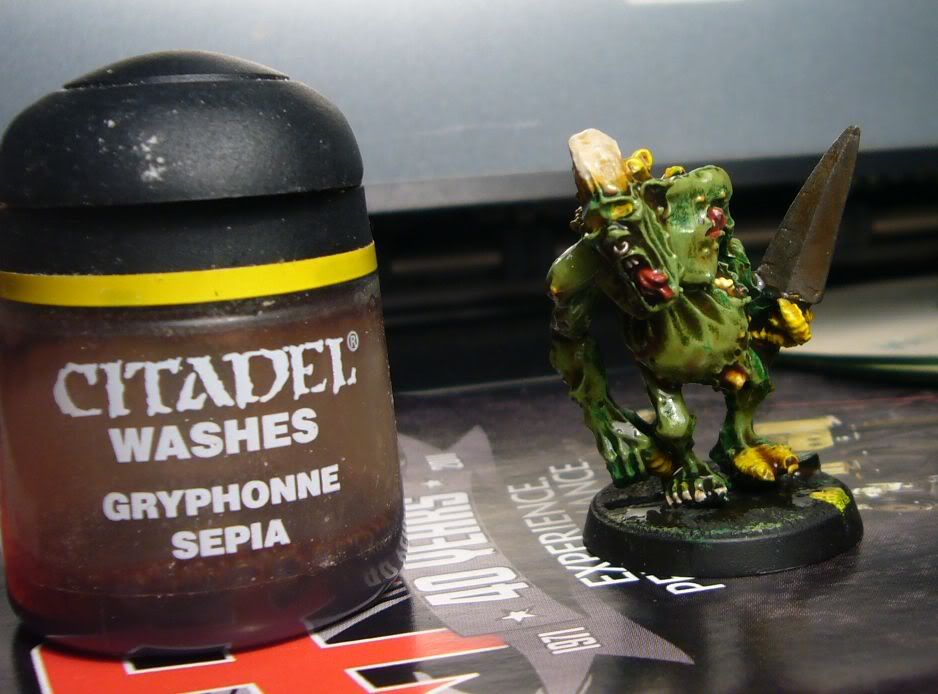
Step 7 - Bottled Talent was applied. I don't care what people say the washes are good.

Shading - Gryphonne Sepia


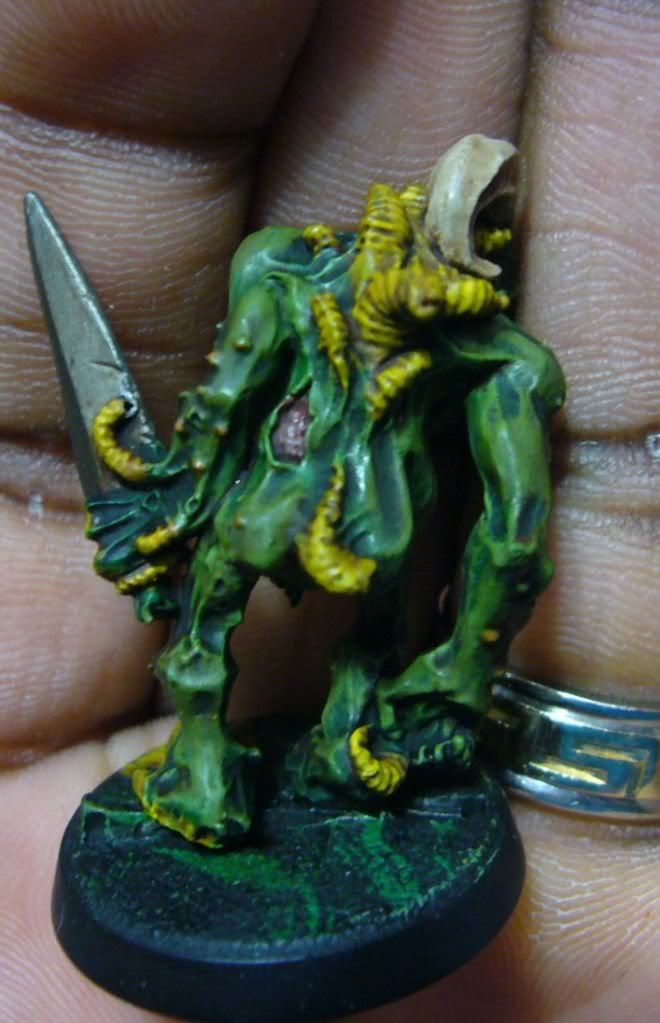
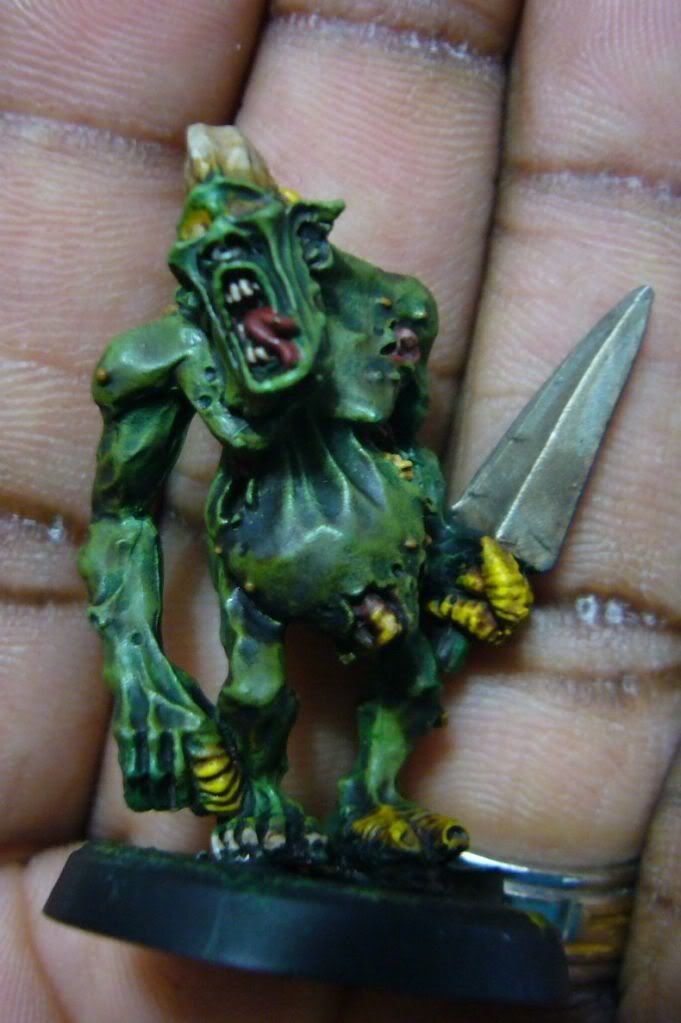
Finished(?) Product -


Comments:
Over all I am pleased with how fast I was able to complete the project. 45 minutes minus the over night dry for the wash. I might apply some rust to he weapon and a generous coat of Water effects for a slimy look. This and my recent CSM are rekindling my painting and slowly chipping away at the painters' block my Eldar caused.


Some Tyranid Work

Recruit Camp was a blast! Got injured the first day though so limped through till the end.


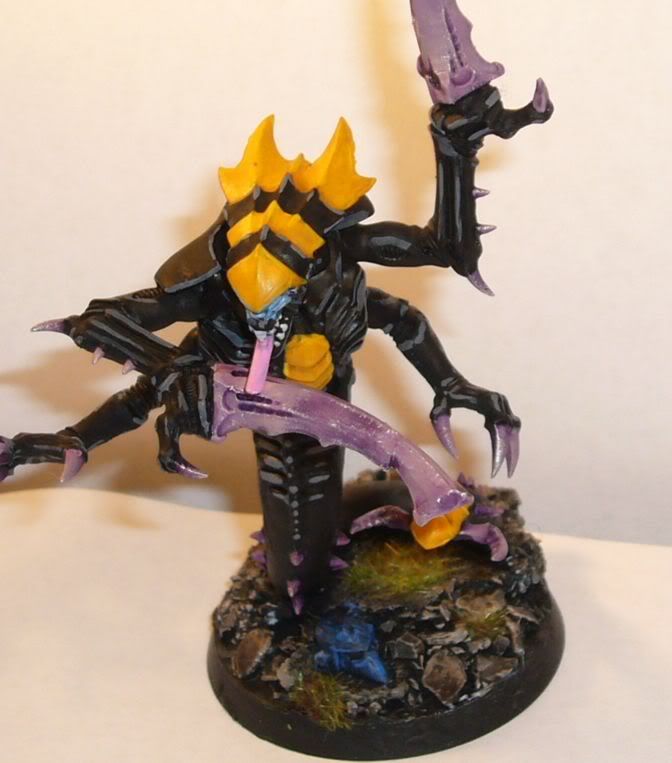
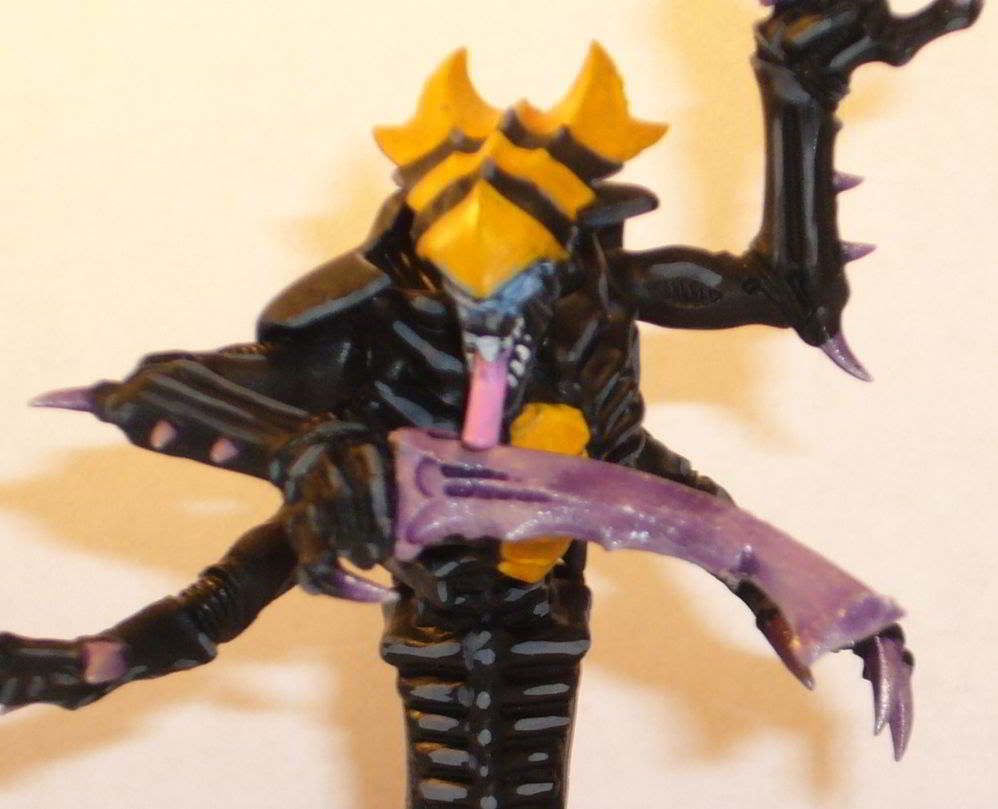
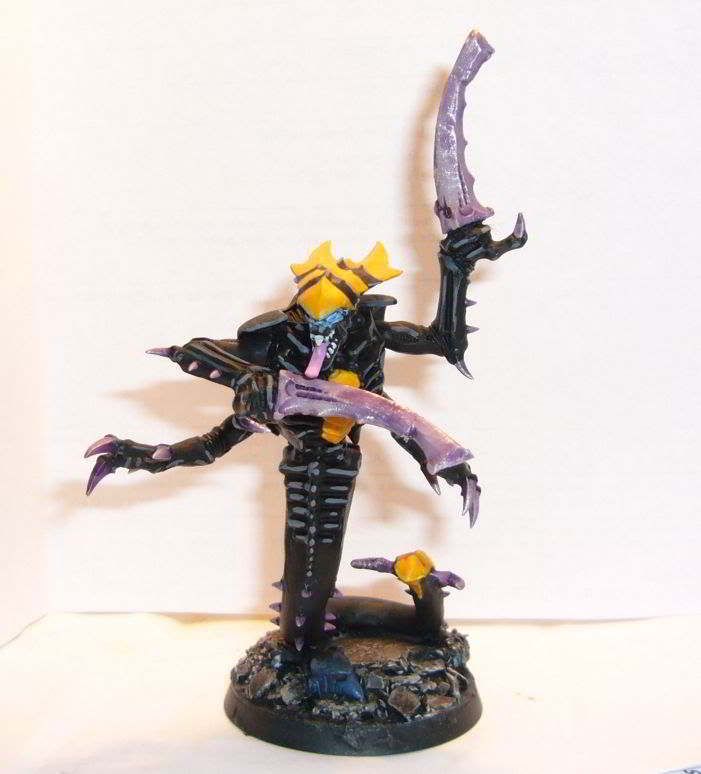
Did some work on a project that had been sitting on the shelf for 3 months. I offered to build a Tyranid Prime for a friend of mine. 

Overall i am happy how he turned out. He/It was built from the Ravaner box set. Was going for the "evolved" serpentine look. Not to pleased with the glowing eyes, but this was my first attempt at the technique.


Next I need to work on my Eldar Autarch.